
Calla Lily Care Guide
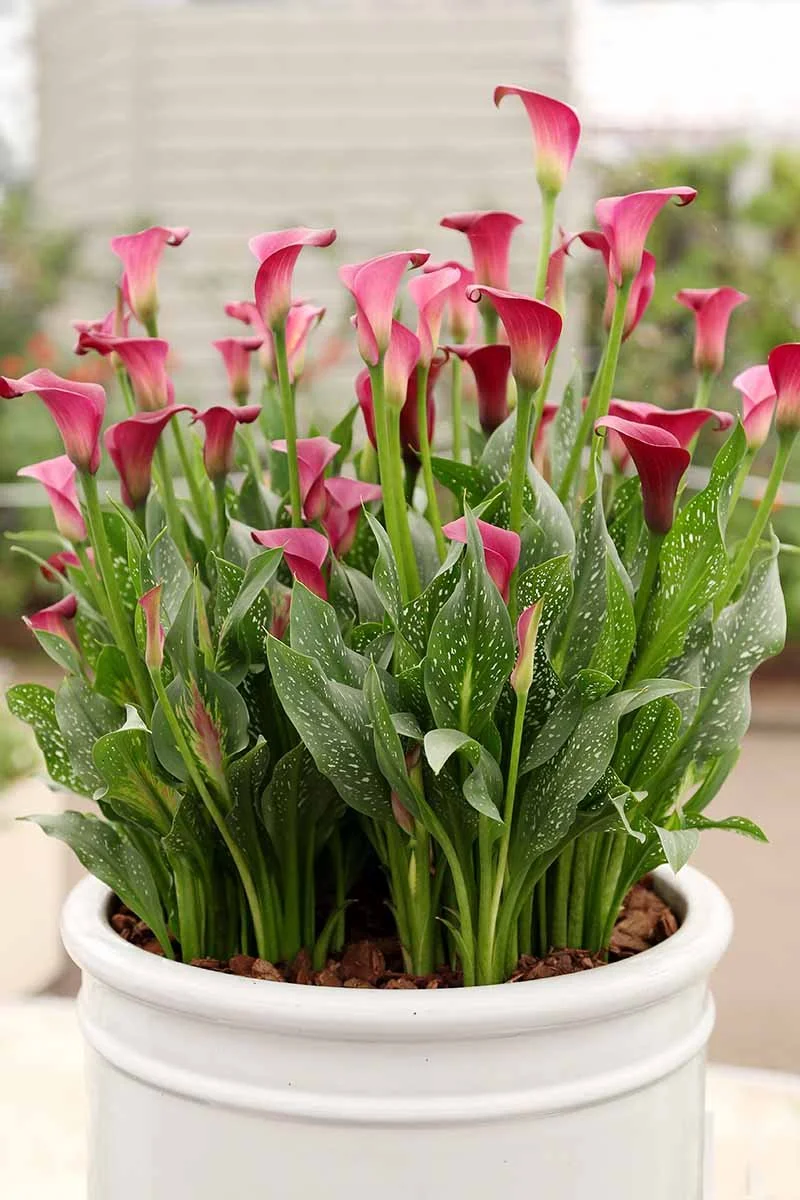
Calla Lily
Zantedeschia species and hybrids
Calla lilies produce elegant, trumpet-shaped blooms above lush, arrow-shaped foliage. Although often sold as blooming houseplants, they grow from underground rhizomes and may naturally enter dormancy after flowering.
Quick Care
Light: Bright, indirect light or gentle morning sun
Water: Keep evenly moist while growing and flowering
Humidity: Average household humidity
Temperature: 60–75°F
Soil: Rich, well-draining potting mix
Difficulty: Moderate
Pet safety: Toxic to cats and dogs
Light
Place your calla lily where it receives plenty of bright light. A few hours of gentle morning sun can encourage flowering, but protect it from intense afternoon sun, which may scorch the foliage and blooms.
Insufficient light is a common reason calla lilies fail to flower.
Water
While the plant is actively growing or blooming:
Check the soil regularly.
Water when the top inch begins to feel dry.
Water thoroughly until excess drains from the pot.
Empty any water collected in the saucer or decorative container.
Calla lilies enjoy consistent moisture but should not remain waterlogged. Constantly saturated potting mix can cause rhizome and root rot.
Temperature and Humidity
Calla lilies perform well at normal indoor temperatures between 60 and 75°F. Keep the plant away from freezing drafts, heating vents, and sudden temperature changes.
Average household humidity is usually adequate.
Soil and Repotting
Use a fertile potting mix that retains some moisture but drains freely. The container must have a drainage hole.
Repot when the rhizomes become crowded or when fresh growth begins after dormancy. Choose a container only slightly larger than the previous one.
Fertilizing
During active growth and flowering, apply a balanced liquid houseplant fertilizer at half strength approximately every two to four weeks.
Do not fertilize during dormancy or when the plant is not actively producing foliage.
After the Flowers Fade
Calla lilies commonly rest after their flowering period. Yellowing foliage at this stage does not necessarily mean the plant has died.
Remove faded flowers.
Allow the leaves to remain until they yellow naturally.
Gradually reduce watering as the foliage declines.
Once dormant, keep the rhizome cool and relatively dry.
Resume regular watering when new growth appears.
Do not cut off healthy green leaves immediately after flowering—the leaves are replenishing energy stored in the rhizome.
Calla lilies are tender plants and should not be expected to survive an Erie winter outdoors in a container. Bring the rhizomes indoors before freezing temperatures.
Common Problems
Yellow leaves while actively growing: The soil may be staying too wet, or the pot may have inadequate drainage. Yellowing after flowering may simply indicate natural dormancy.
Drooping plant: Check the soil before watering. Both extremely dry soil and waterlogged roots can cause drooping.
No flowers: The plant may need brighter light, appropriate fertilizer, or a proper rest period between flowering cycles.
Soft stems or a foul smell: These are possible signs of rhizome or root rot. Reduce watering and inspect the drainage.
Brown leaf edges: Dry soil, fertilizer buildup, intense sunlight, or very dry air may be responsible.
Pet Safety
Calla lily are not considered pet-safe. It contains insoluble calcium oxalate crystals that can cause intense mouth irritation, drooling, vomiting, and difficulty swallowing when chewed.
Keep the entire plant out of reach of children and pets. Contact a veterinarian promptly if ingestion is suspected. ASPCA Calla Lily safety information
Although called a “lily,” the calla lily is not a true lily in the genus Lilium. However, it should still be treated as a toxic plant.
Mary Mae’s Best Advice
Keep your calla lily evenly moist and brightly lit while it is growing, then respect its natural rest period after flowering. If the foliage gradually yellows after the blooms finish, your plant may simply be going dormant—not dying.
