
Aloe Vera Care Guide
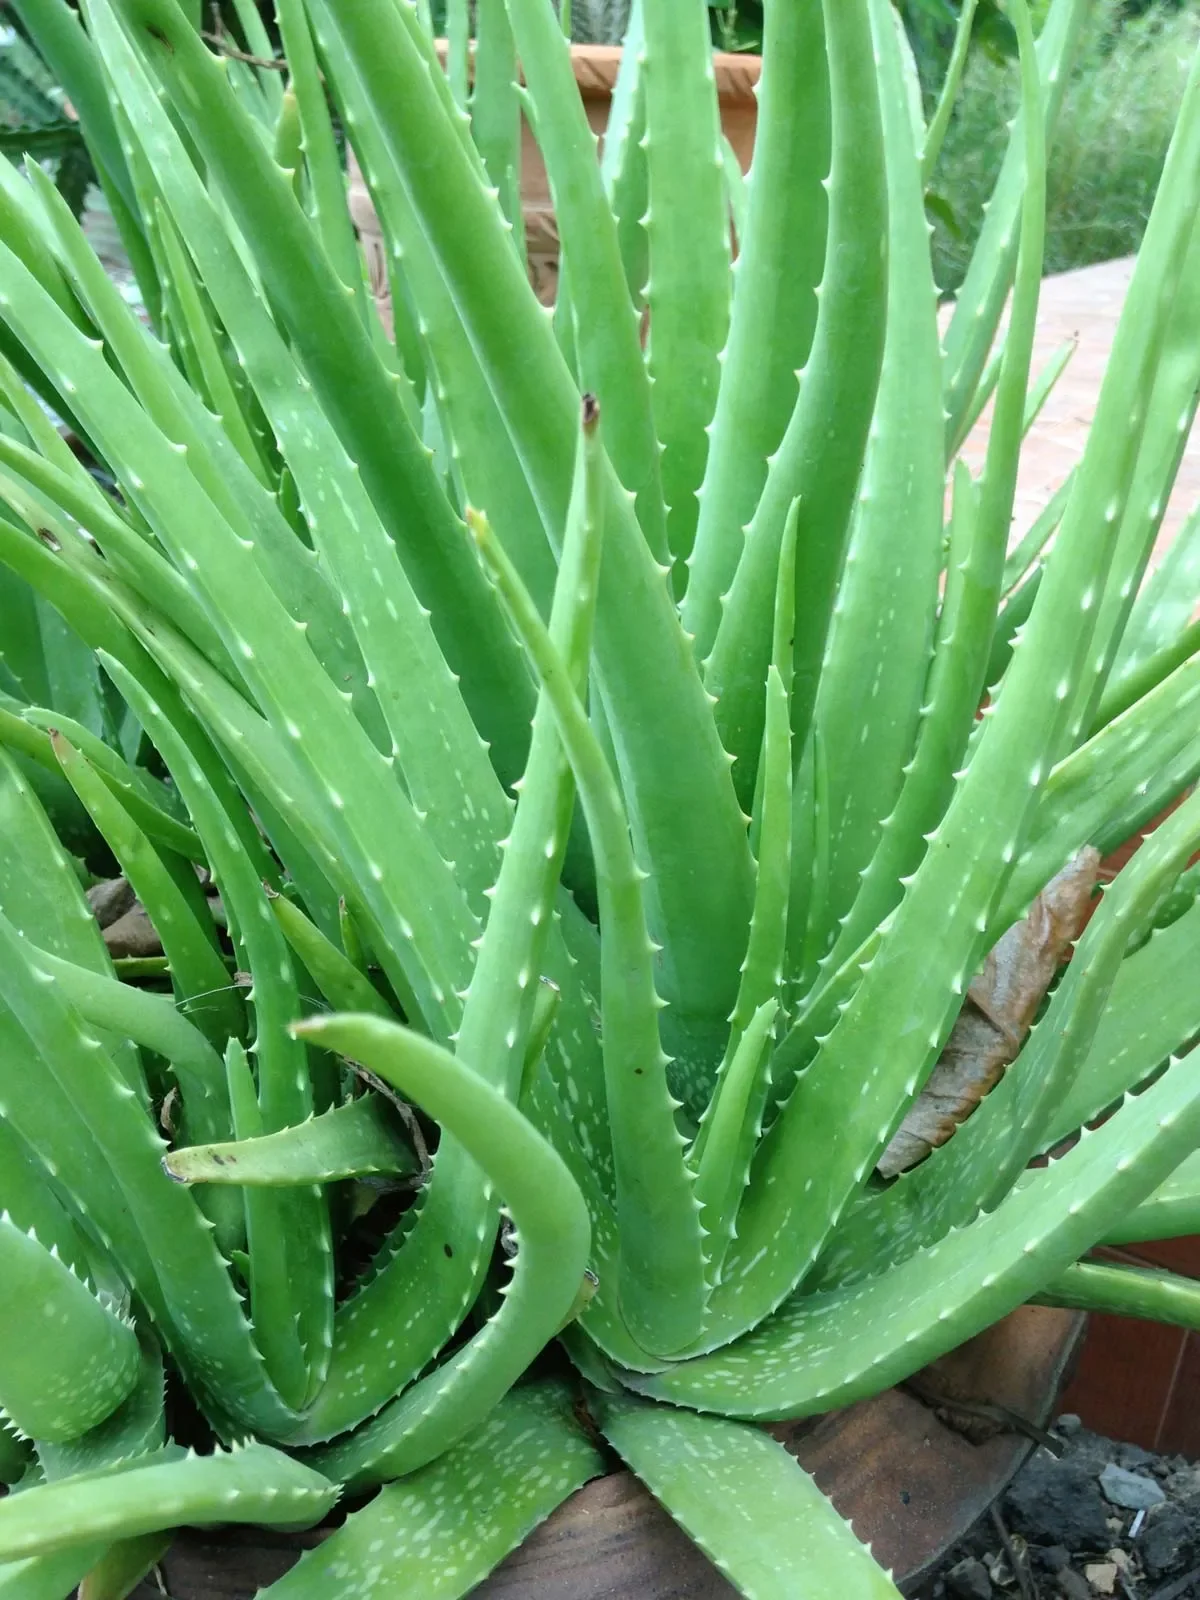
Aloe vera
Aloe vera is a drought-tolerant succulent recognized by its thick, fleshy leaves filled with clear gel. It is a low-maintenance houseplant when given strong light, fast-draining soil and time to dry between waterings.
Quick Care
Light: Very bright light with some direct sun
Water: Allow the soil to dry completely before watering
Humidity: Low to average
Temperature: Approximately 60–80°F
Difficulty: Easy
Pet friendly: No
Growth habit: Upright rosette that produces offsets
Light
Place aloe vera in a very bright location. A south- or west-facing window is usually best. The plant should receive at least several hours of bright light each day.
Introduce it gradually to intense direct sunlight. Aloe plants grown under greenhouse shade can develop bleached or brown sunburn patches if moved immediately into strong afternoon sun.
Insufficient light causes weak, thin or leaning growth.
Water
Allow the potting mix to dry completely before watering again. Then soak the soil thoroughly until water drains from the bottom of the container.
Discard any excess water from the saucer or decorative pot. Never allow aloe vera to sit in standing water.
Watering frequency will vary considerably throughout the year. The plant normally requires less water during Erie’s darker winter months. Check the soil rather than following a fixed schedule.
Avoid allowing water to remain trapped in the center of the leaf rosette.
Temperature and Humidity
Aloe vera performs well in normal household temperatures between approximately 60°F and 80°F. Protect it from frost, cold windows and temperatures below 50°F.
Low to average household humidity is appropriate. Aloe vera does not need misting.
Soil and Repotting
Use a fast-draining cactus and succulent potting mix. Additional perlite or pumice can be added if the mixture retains moisture for too long.
Choose a container with a drainage hole. An unglazed terracotta pot is especially suitable because it allows the soil to dry more efficiently.
Repot when the plant becomes top-heavy, severely root-bound or crowded with offsets. Select a pot only slightly larger than the existing container.
Fertilizing
Aloe vera requires very little fertilizer. Feed once or twice during spring and summer with a cactus-and-succulent fertilizer or a balanced houseplant fertilizer diluted to half strength.
Do not fertilize during winter or when the plant is stressed.
Offsets and Propagation
Healthy aloe plants often produce small offsets, commonly called pups, around their base.
Allow a pup to develop several leaves and its own roots before separating it from the parent plant. Pot it in dry succulent mix and wait several days before watering to allow any damaged tissue to callus.
Common Problems
Soft, yellow or translucent leaves: Usually caused by overwatering or poor drainage.
Brown, dry leaf tips: May result from prolonged dryness, damaged roots, salt buildup or natural aging.
Thin, stretched or leaning growth: The plant needs more light.
Bleached or sharply defined brown patches: Usually sunburn caused by a sudden increase in direct sunlight.
Wrinkled or curling leaves: The plant may need water, but confirm that the soil is completely dry first.
White cottony material: Inspect for mealybugs.
Pet Safety
Aloe vera are not considered pet-safe. Compounds found primarily beneath the leaf’s outer skin can cause vomiting, diarrhea, lethargy and changes in urine color.
The clear inner gel is different from the yellow latex located beneath the leaf skin, but allowing pets to chew any part of the plant is unsafe. Keep the entire plant out of reach. Contact a veterinarian or pet-poison service if ingestion occurs. ASPCA Aloe profile
Human-Use Note
Although aloe gel is used in many commercial skincare products, a store-bought plant is sold as an ornamental houseplant—not as a food or medical product. The yellow latex beneath the leaf skin can be irritating and should not be consumed.
Mary Mae’s Best Advice
Aloe vera would rather be too dry than too wet. Give it strong light, use a pot with drainage and wait until the soil is completely dry before watering thoroughly.
